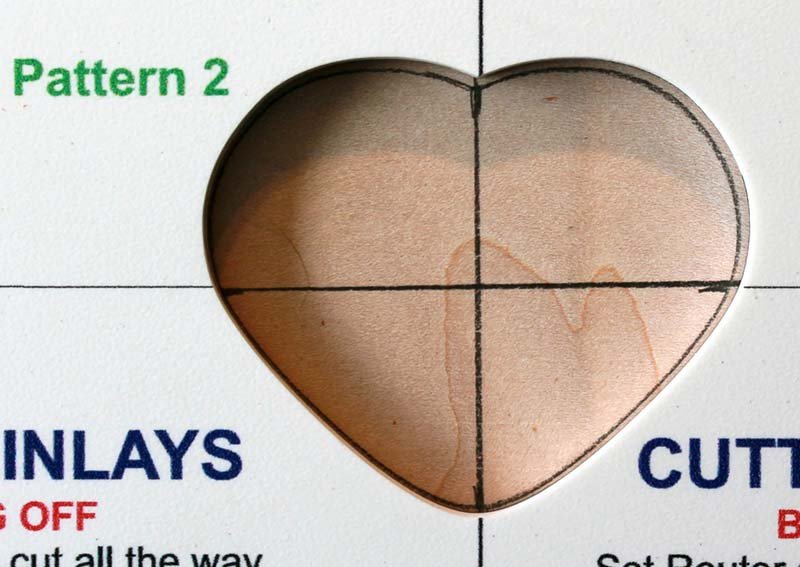
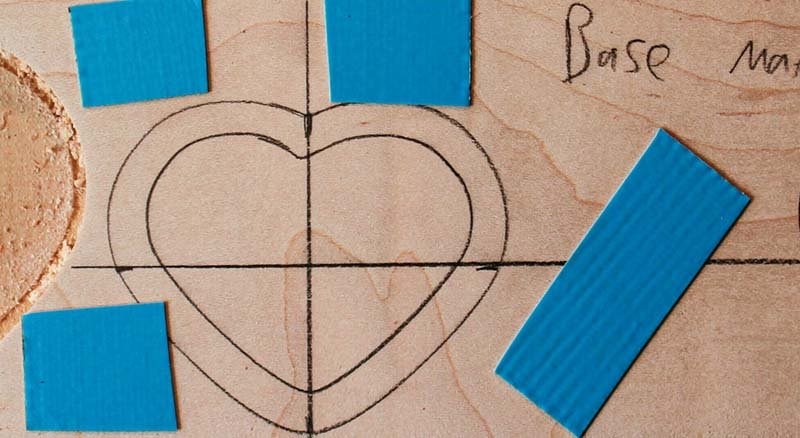
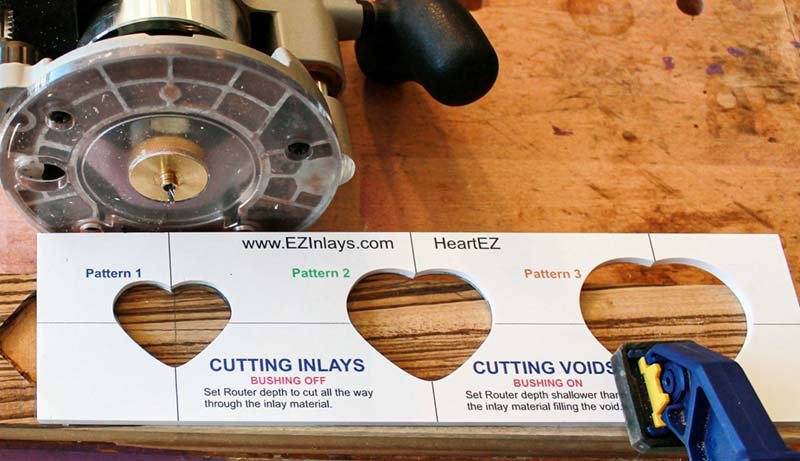
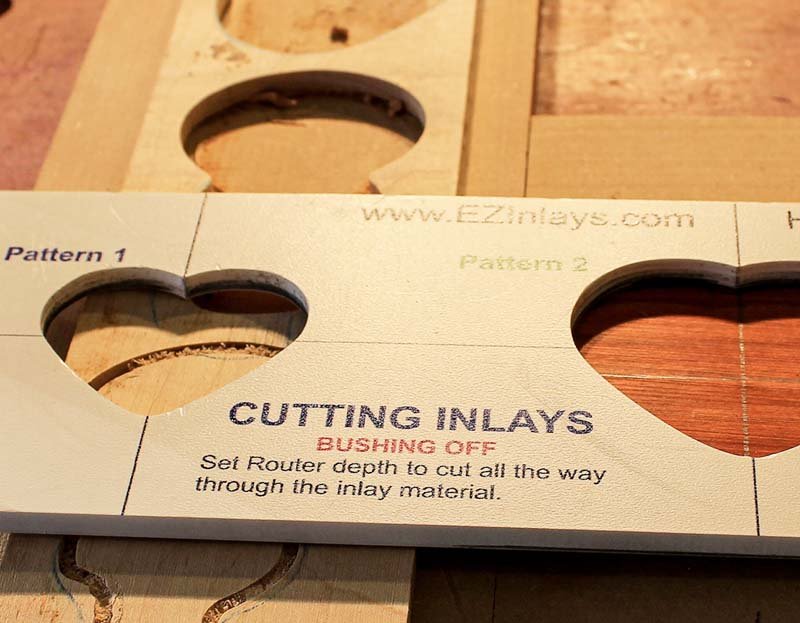
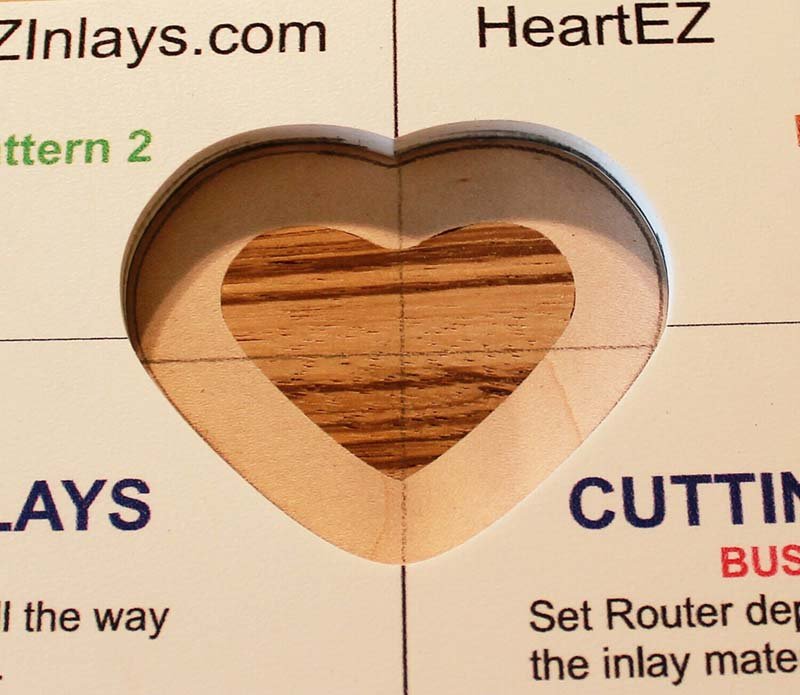
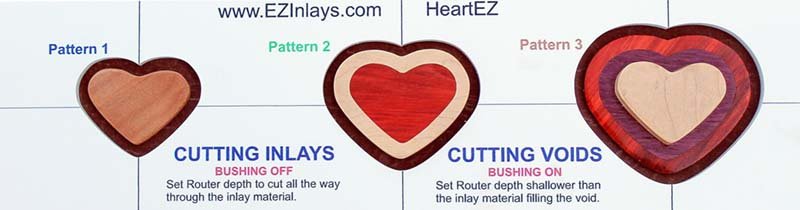
At $20 + FREE SHIPPING, the HeartEZ template is perfect for a low cost introduction to router based inlays. While building an inlaid heart you'll practice cutting sharp points, gentle curves, flat spots, and corners. These are all the cuts you'll ever need to make for any router based inlay.
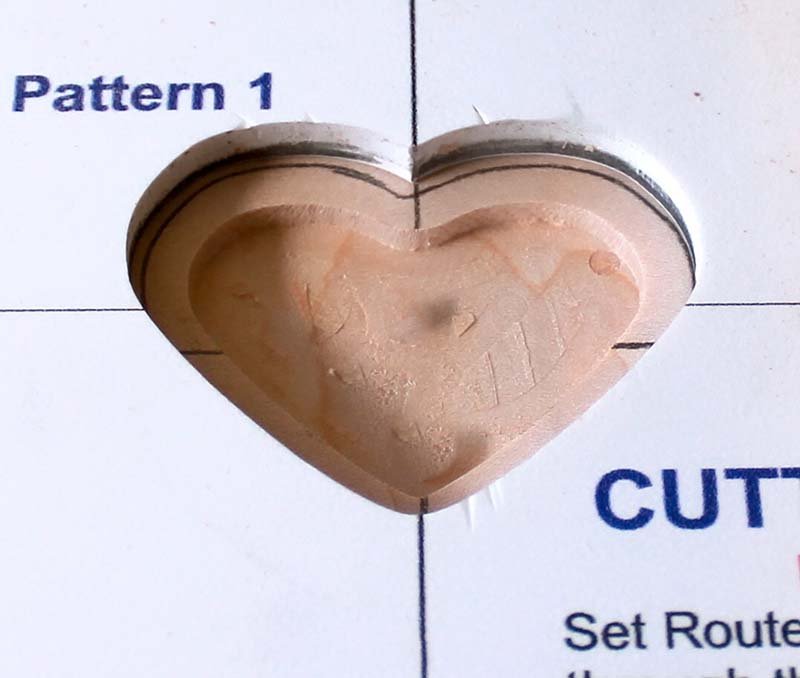
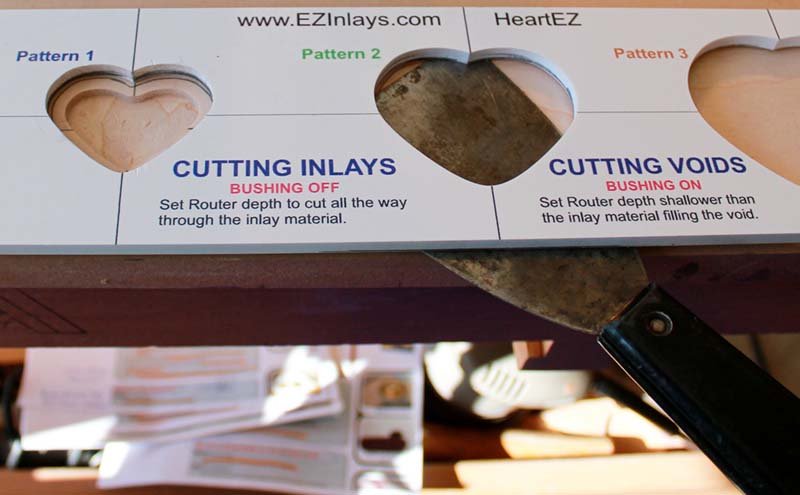
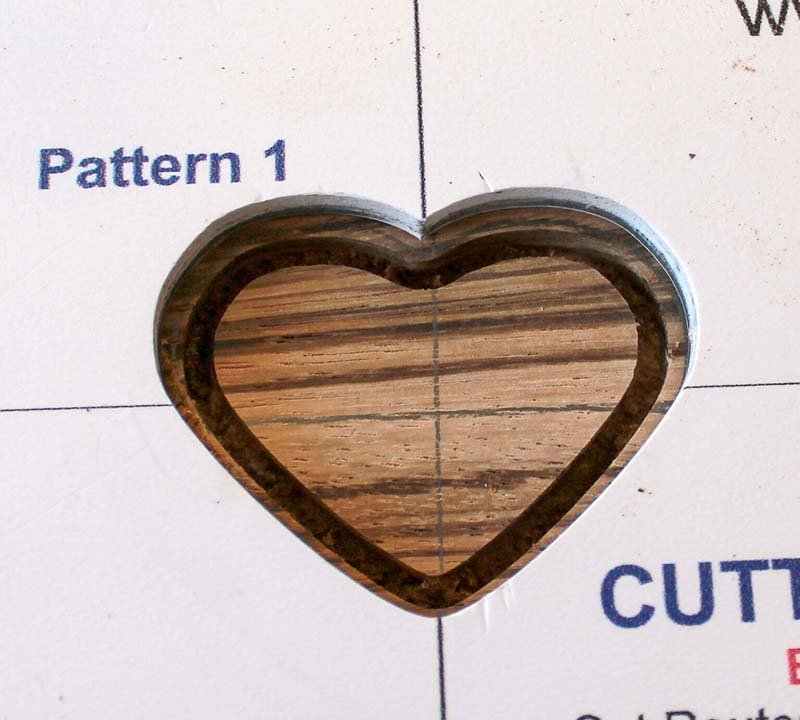
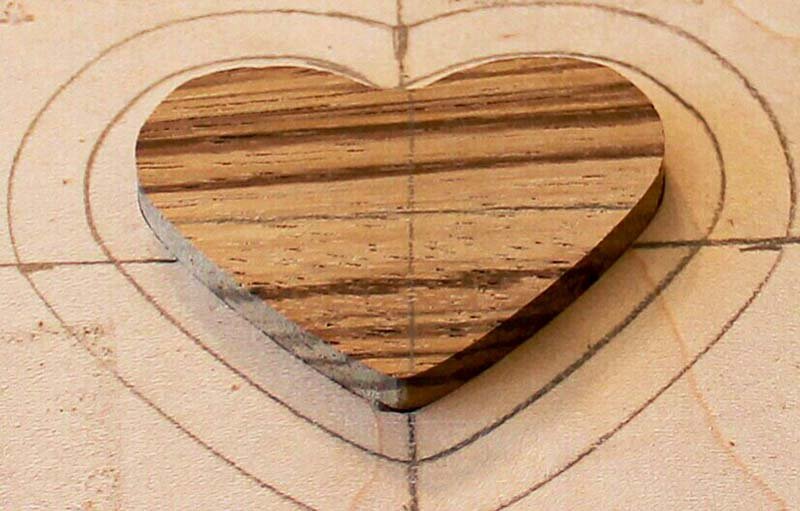
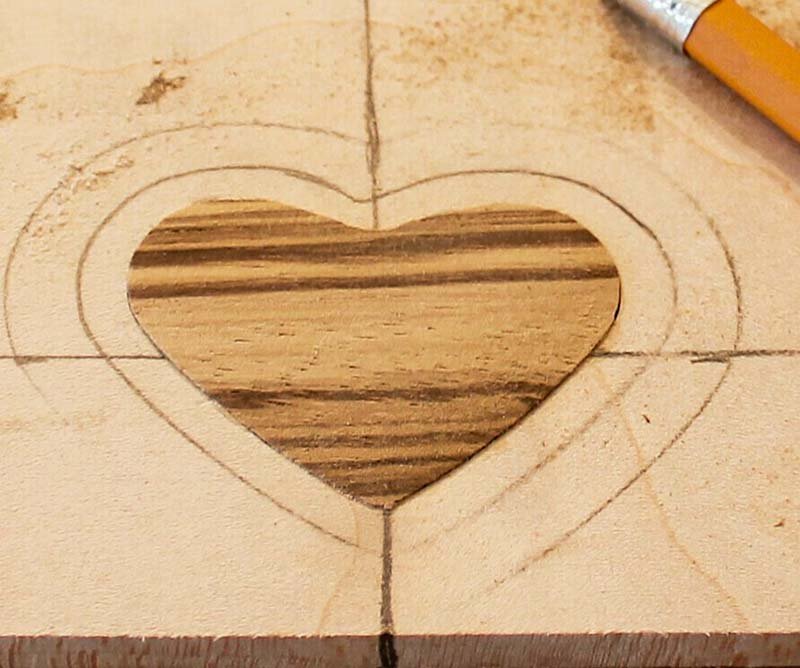
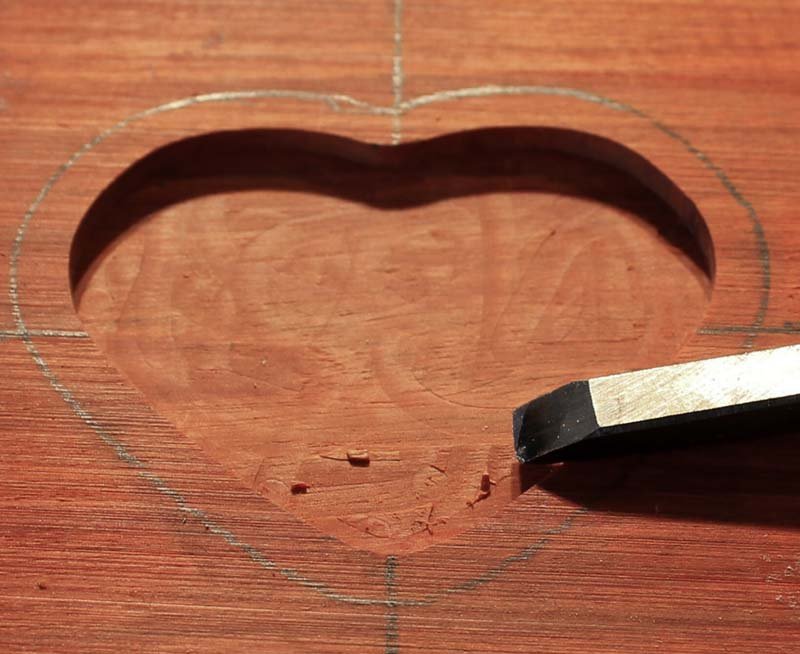
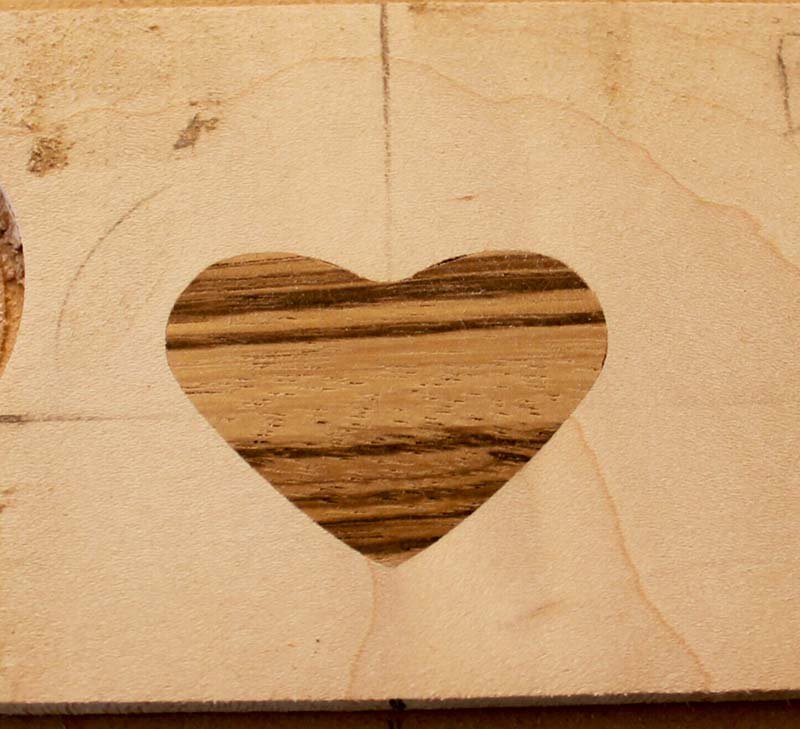
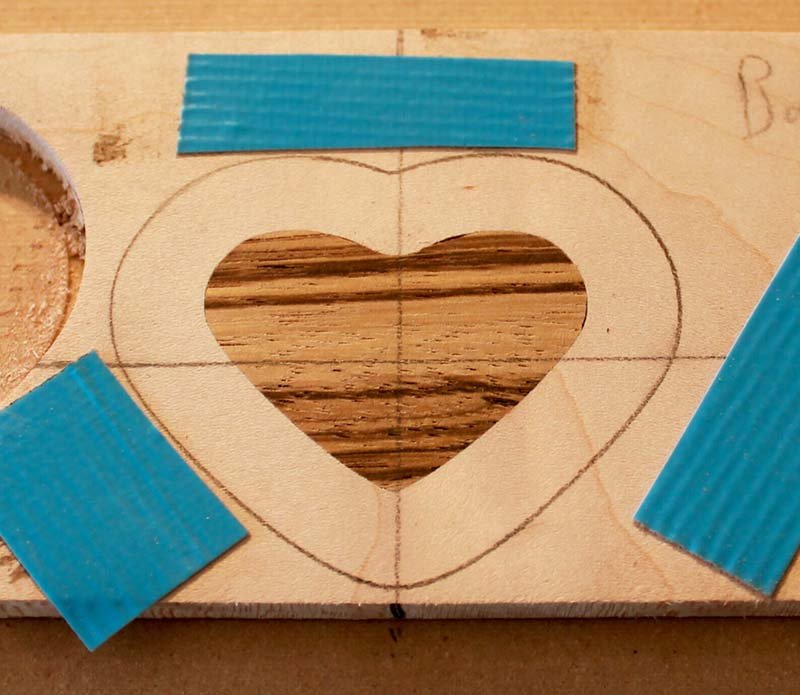
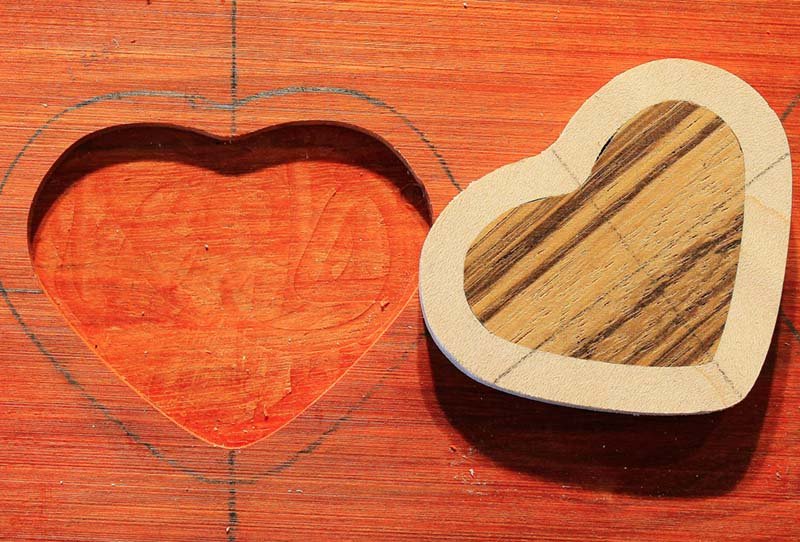
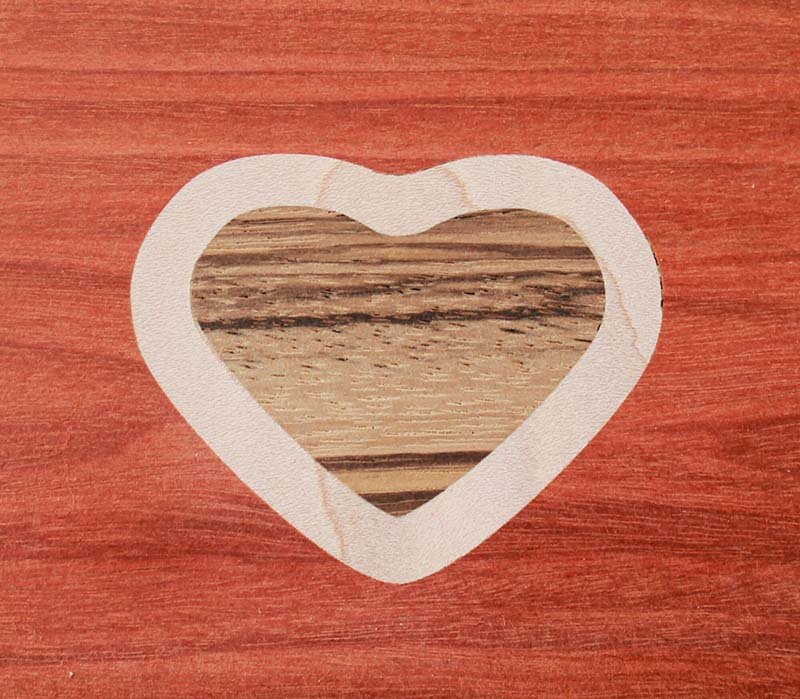
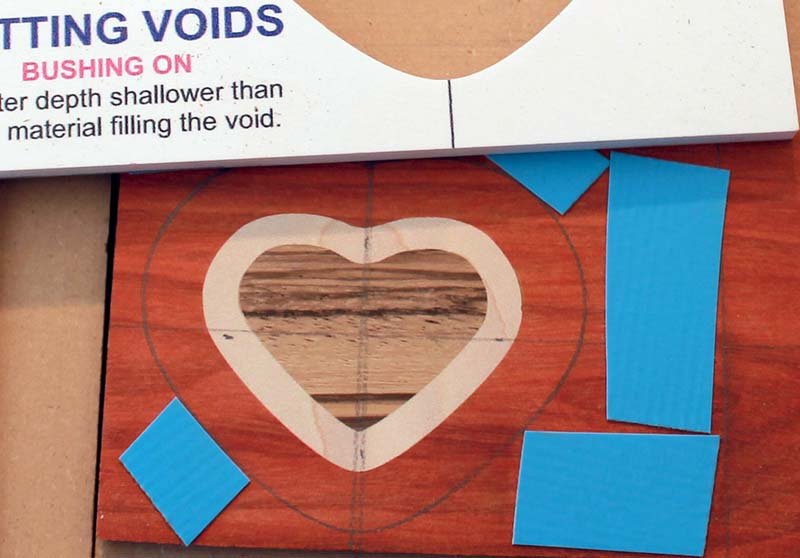
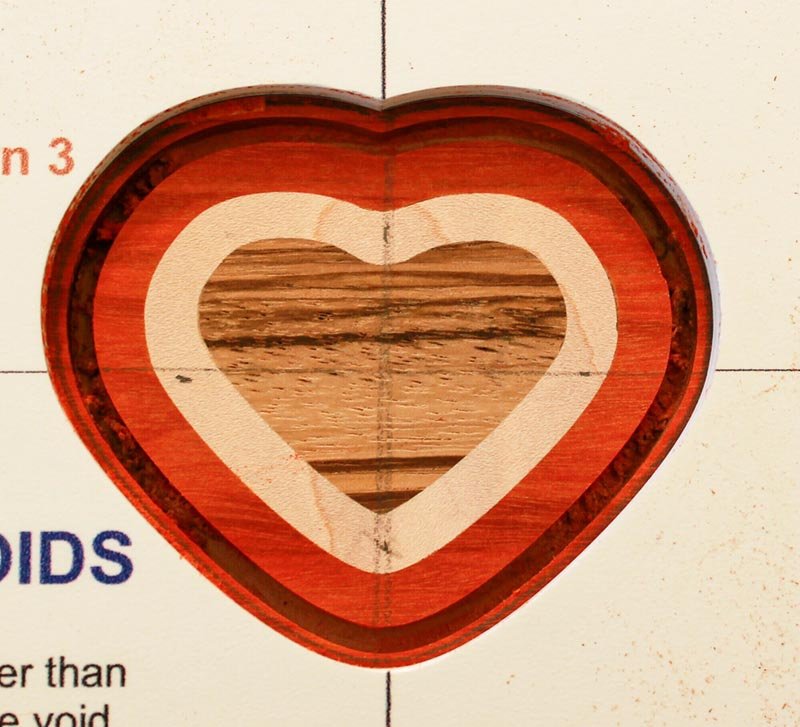
It takes about an hour to build the heart and at the end of the process you'll have cut two "voids", three "inlays" and assembled them into a great gift for that special someone! Between this video and the How to Build an Inlay Tutorial you'll be able to master all the techniques required to build any router based inlay.
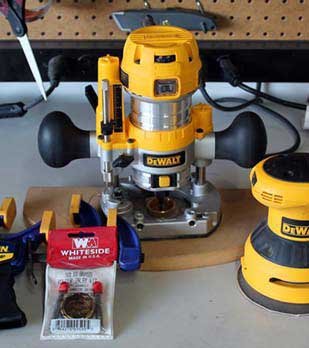
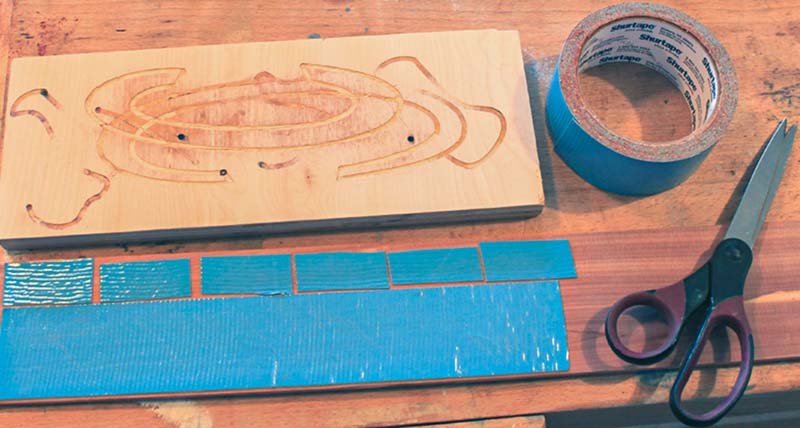
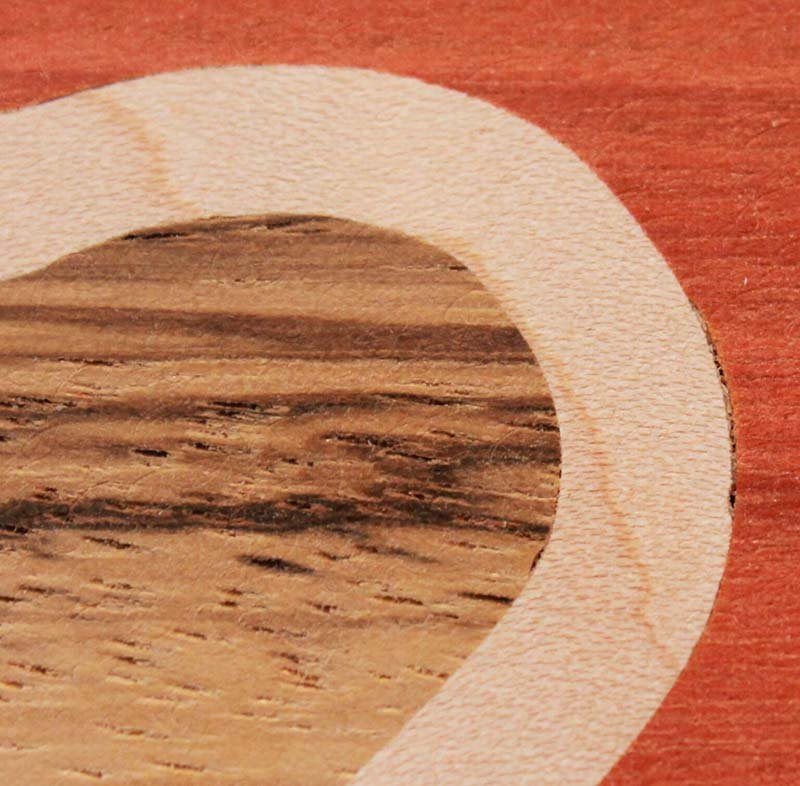
Best of all the only power tool needed is a plunge router equipped with a brass inlay kit. There isn't a safer, easier, or more precise way of building inlays. If you follow these procedures you're guaranteed to build flawless inlays quickly, easily, and repetitively!
The only power tool needed to build a router based inlay is a plunge router equipped with a router inlay kit. There are other useful tools such as an RO sander, a shop vac, clamps, and an assortment of other hand held tools. Click here to see the Tools Needed to Build a Router Based Wood Inlay.
For materials you'll need three pieces of wood with varying colors and grain patterns. Minimum recommended dimensions for each species of wood are 3" X 3" X 1/4" thick. Wider and or longer is better so you have more surface area to affix your templates!
For this inlay I chose to use Cocobolo as the focal point of my heart (the center). For the middle heart I chose a quilted Maple, and for the outer heart I'm using Red Heart.
For thickness you can use anything from about 1/8" to 3/8" thick. Much thinner and the material gets pretty fragile, much thicker and the material gets hard to cut.
Prepare the inlay materials by using double sided tape to affix all materials to a backing / sacrificial board. Click here to view how to Prepare Inlay Materials.
Use the template to trace the the Pattern 1 and Pattern 2 shape on the material (Maple) that will be used for the inner heart. Be sure to notch where the alignment marks belong. Using the edge of the template, draw the alignment marks on the inlay material so it looks like a big plus.
The center heart was traced using Pattern 1. This picture shows both Pattern 1 and Pattern 2 traced on the Quilted Maple which makes up the middle heart. You'll be inlaying a small heart in the center of Pattern 2, then you'll cut out Pattern 2 as an inlay and then inlay it into Pattern 3.
After you prepare and mark the inlay materials, Affix the Template to the middle heart material with Pattern 1 centered over the area you marked in the prior step. Make sure you use enough double sided tape to hold the template in place during the routing process!!! Secure the assembly to the workbench.
You're Cutting a Void in the base material (center heart) where the Pattern 1 inlay will be placed. I recommend cutting the void first, when possible, so you can get use to the shape being cut and how the router feels as you make the cut.
Because we are cutting a VOID put the bushing on the router inlay kit and set the depth of the cut to be slightly shallower than the thickness of the inlay material. Usually you don't want the inlay to show all the way through the base material so ensure the depth of the cut is at least 1/16" to 1/8" shallower than the thickness of the base material.
After cutting the void remove the template from the inlay material. Use a paint scraper to wedge between the template and inlay material. Gently pry the template from the inlay material. Use care when prying the template off. The templates are made from a PVC material so they have the strength and flexibility to last a lifetime if cared for properly. Excessive bending of the template, however, can cause it to break so use care when removing the template!
To Cut the Inlay position and affix Pattern 1 over the area you want to be in the center of your heart. Just move the template around over the inlay material until you find an area you like. Then, using double sided tape, affix the template to the inlay material and secure the entire assembly to the workbench.
Because you're cutting an inlay, take the Bushing Off the brass inlay kit and set the depth of the plunge to go all the way through the inlay material. Don't set the depth to deep though, just deep enough to cut all the way through the inlay material. The deeper the cut goes into the backing material the more difficult cutting the inlay will be.
To cut the inlay, position the router inside the shape to be cut out and slide the router to the side until the bearing makes contact with the template wall. Turn the router on and plunge it into the inlay material. Guide the router around the shape one time. After you make a complete pass, turn the router off, un-plunge it, and set it aside.
When cutting an inlay make sure the collar remains in constant contact with the template wall while routing. If the collar loses contact with the template wall the piece will be ruined and will need to be cut out again! So take your time while routing the piece especially when navigating the point of the heart.
After the inlay is cut use the paint scraper to remove the template. Then use the paint scraper again to remove the inlay. Use care when removing the inlay. Remember it has double sided tape on the back side and now it's a pretty small piece of wood. Because of it's size there isn't a lot of strength so pry the inlay from the backing material following the grain direction. Prying in parallel with the grain direction may cause it to snap in half.
Peel or scrape off any remnants of the double sided tape from the back of the inlay.
With the inlay and tape removed Pre-fit the Inlay into the void cut in the base material. You may need to do a little sanding to get a good fit. Don't push the inlay to far into the void while pre-fitting it or else you'll have a hard time getting it back out!
After the inlay is fit to the void, apply smear glue around in the void and on the back side of the inlay piece, then the inlay into the void. I recommend using a soft mallet to tape the inlay into it's void fully seating the piece. Let the glue dry for 30 minutes or so.
While the glue holding the Pattern 1 inlay dries you can cut the Pattern 2 void.
In a prior step you cut the Pattern 1 void into the middle heart base material, Maple in this example. Using the exact same techniques you'll now cut a Pattern 2 void in the outer heart base material, Red Heart in this example. Just like you did in the first step with the Pattern 1 and 2 shapes, use the Pattern 3 template to outline the heart and create the alignment marks on the base material. Then use the Pattern2 shape to draw the middle heart shape on the base material.
Using the alignment marks you just created, position the Pattern 2 template correctly and affix it into place using double sided tape. Because you're cutting a void put the Bushing On the router. Set the cutting depth to be shallower than the thickness of the inlay going into the void.
After cutting the void remove the template and flatten the bottom of the void if needed.
After the glue holding the Pattern 1 inlay dries you may need to sand it down to the same height as the base material. The next step requires you to cut out the assembly using the same technique used to cut out the inlay that was just glued into place. If the inlay extends above the base material it may interfere with the router busing during the cutting process.
If you have to sand, there is a chance that the alignment marks will be erased by the sanding process. Prior to sanding make sure you can recreate your alignment marks if needed! I like to extend the alignment marks to the edge of the inlay material so I can easily recreate them if needed. If you look closely at this picture you can see the alignment mark on the edge of the board.
Worst case is to position the Pattern 2 template over the inlay, center it as best you can, and then recreate the alignment marks that way.
After the alignment marks are redrawn apply double sided tape so you can position and affix the template and cut out the Pattern 2 inlay.
Using the alignment marks as a reference, position the Pattern 2 template over the inlay and affix into place using double sided tape. Clamp the assembly to the workbench. The alignment in the picture is accurate but the angle the picture was taken from makes it look like it was misplaced. It's always better to look straight down at the alignment marks when positioning the template.
Use the same procedure you used to cut the Pattern 1 inlay to cut out the Pattern 2 inlay. You're cutting out another inlay so take the "Bushing Off and adjust the depth so the router will cut all the way through the inlay material.
After routing the inlay use a paint scraper to remove the inlay from the backing material. Remove the double sided tape from the bottom of the inlay piece and clean it up as needed.
Using the same techniques used to assemble the Pattern 1 inlay, prefit the Pattern 2 inlay into its void in the outer heart base material. You may need to do a little sanding to get a good fit. Don't push the inlay to far into the void or else you'll have a hard time getting it back out!
After the inlay is fit to the void, smear glue in the void and on the inlay, then press the inlay into the void. If necessary sand the inlay flat just like you did earlier. Remember the alignment marks may need to be recreated after sanding!
This is the third time you've cut an inlay so you should be getting good at it now. Using the same procedures as before position the Pattern 3 template over the heart and affix into place with double sided tape. Remember to take the Bushing Off, set the depth of plunge to cut all the way through the material, and route out the inlay.
Remove the template from the inlay material but leave the heart affixed to the backing material for the final step!
Prior to removing the inlay from the backing material, smearing a little glue into the gaps and sand. The sawdust mixes with the glue making the gaps nearly invisible. This technique is discussed on the Sanding and Finish page.
After the gaps have been filled remove the inlay from the backing material. I like to do a final sanding with 220 grit sandpaper followed up with a 320 grit. I round over the edges using the 320 grit. After the piece is sanded to your liking apply the finish of your choosing. Personally I like to apply two coast or three of Tung Oil followed up with a brush couple coats of a wipe on polyurethane finish for all of my inlays, but feel free to choose whatever finish works best for you!