TurtleSoup Decorative Inlay Kit

TurtleSoup Templates
PayPal Pixel
$40
FREE SHIPPING

We only ship in the US
Dimensions:
5" Tall, 5-1/2" Wide
TurtleSoup Templates
TurtleSoup Rev 1
Image of the Turtle Soup Rev 1
TurtleSoup Keepsake Box
Image of TurtleSoup cut out as an Ornament
TurtleSoup Ornament
Yellow and Red Heart build of TurtleSoup.
What's Included in the Kit

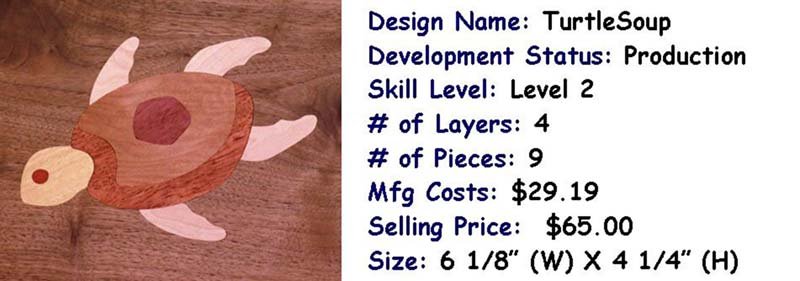
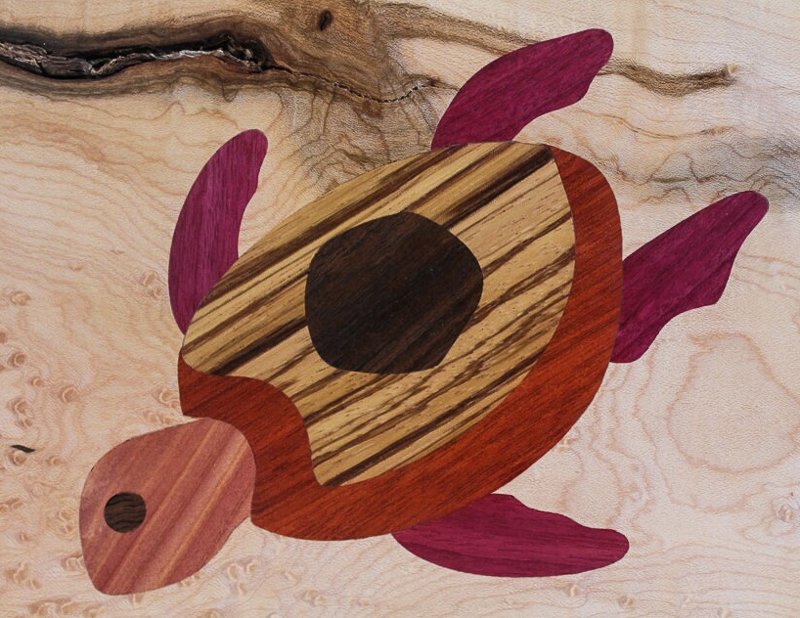
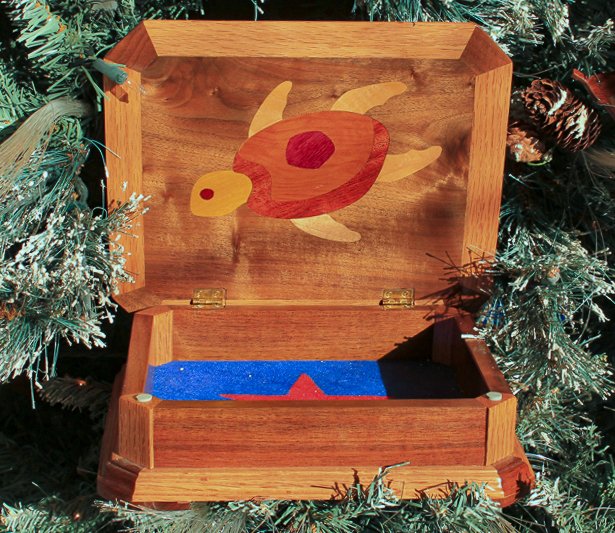
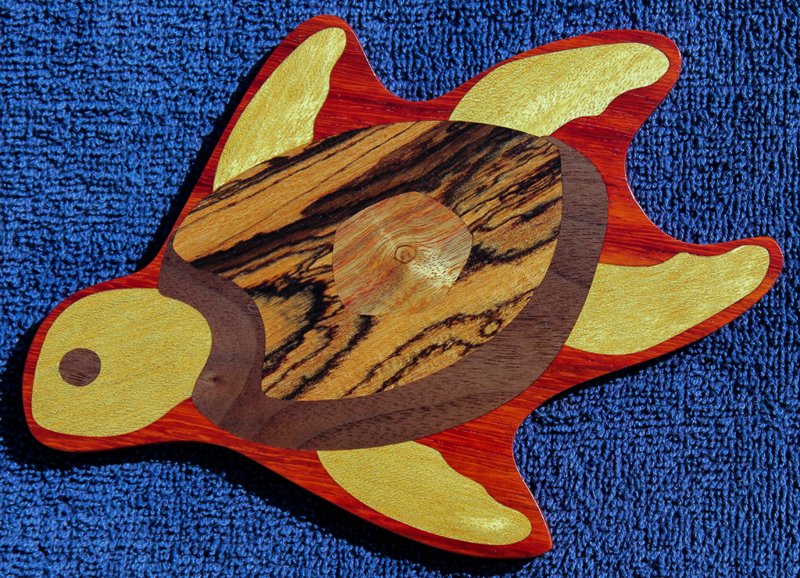
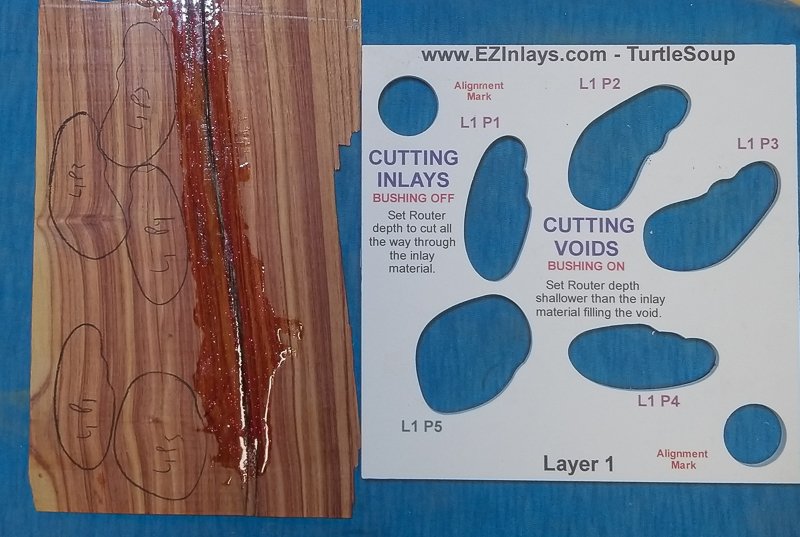
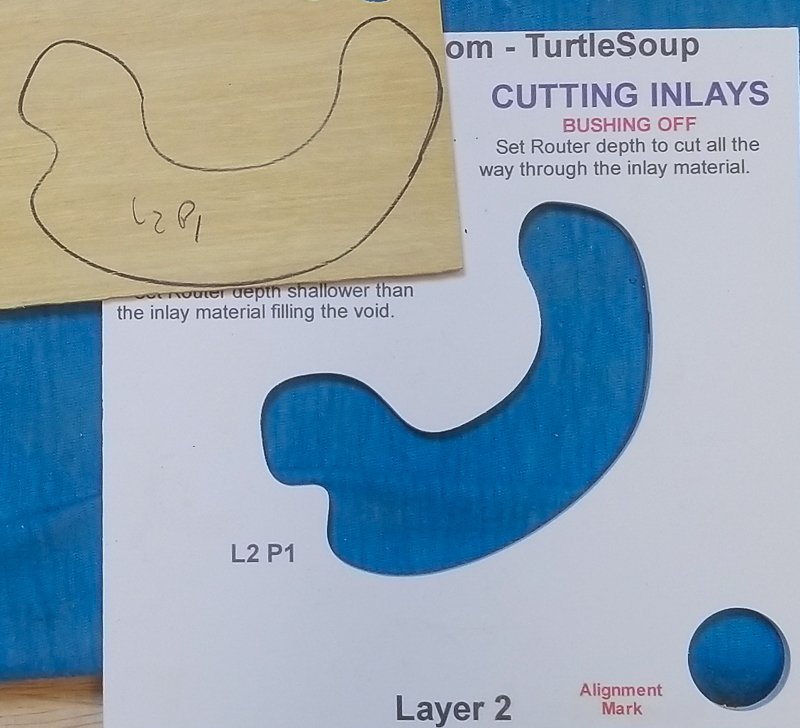
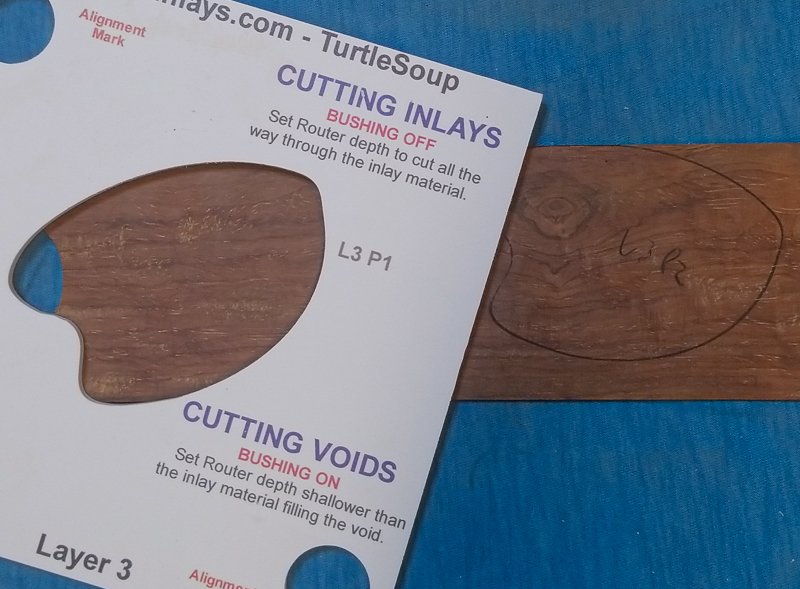
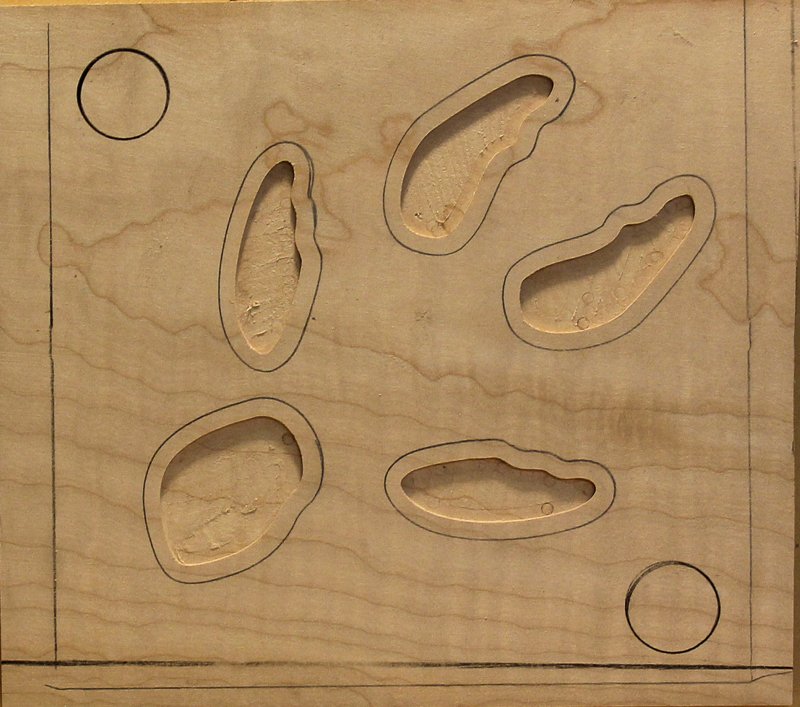
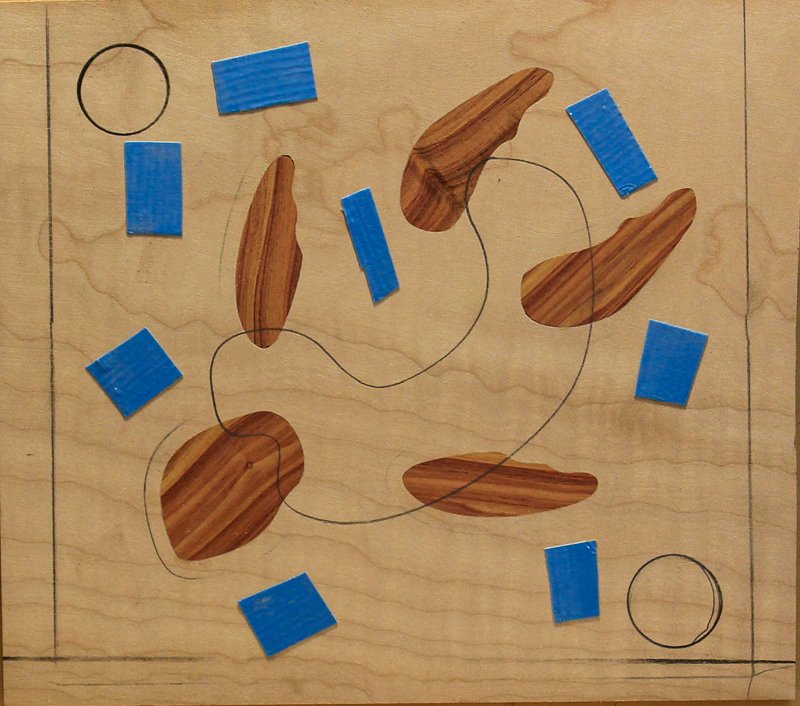
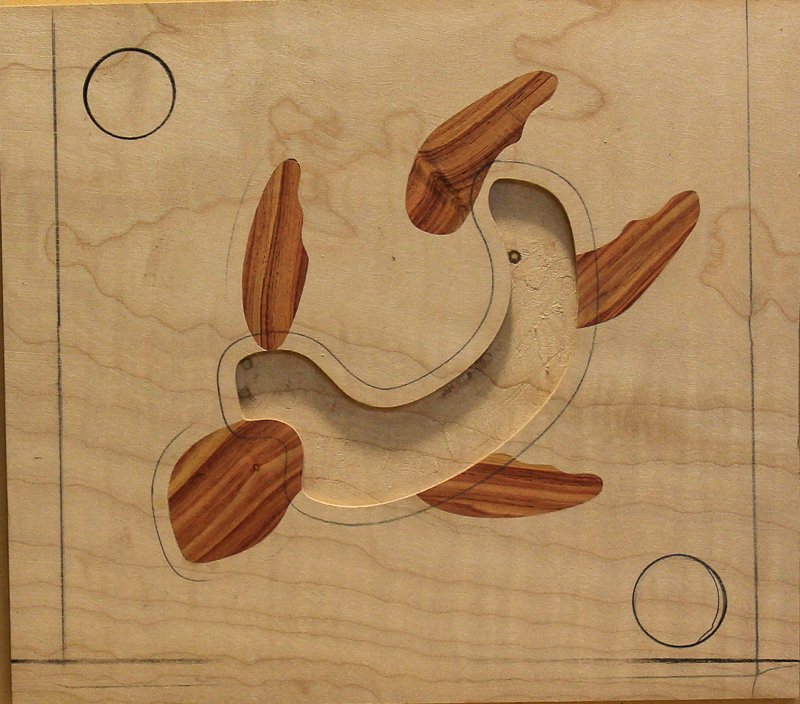
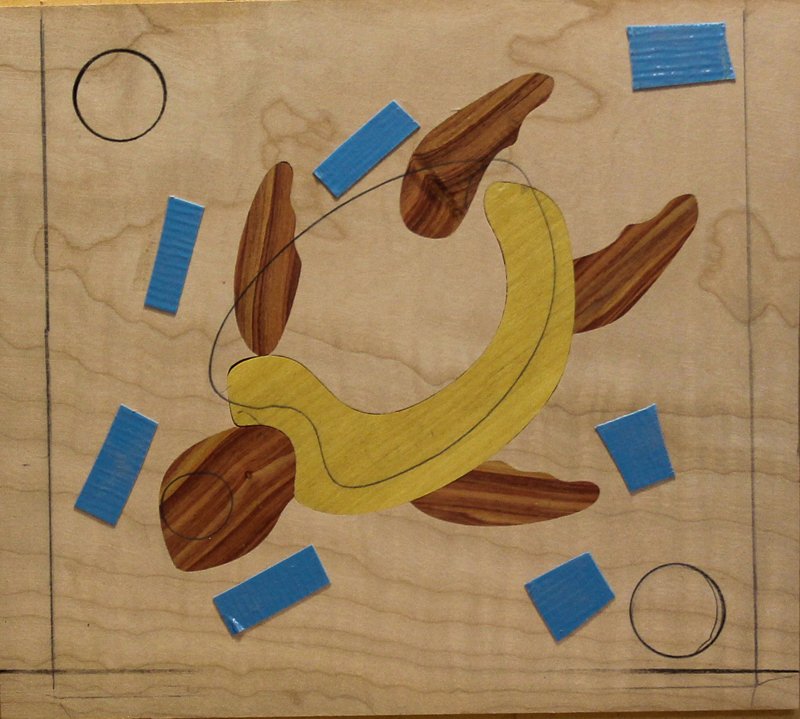
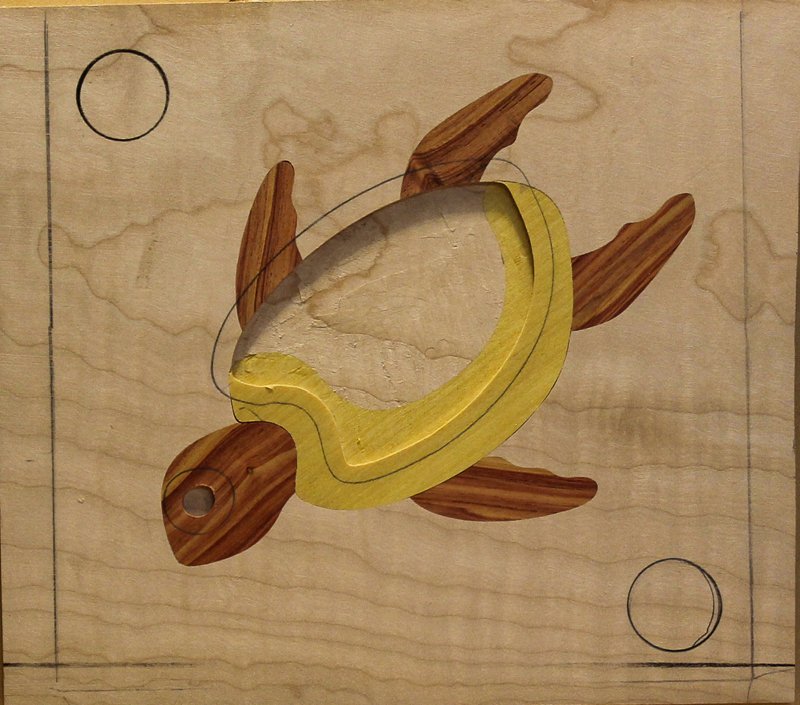
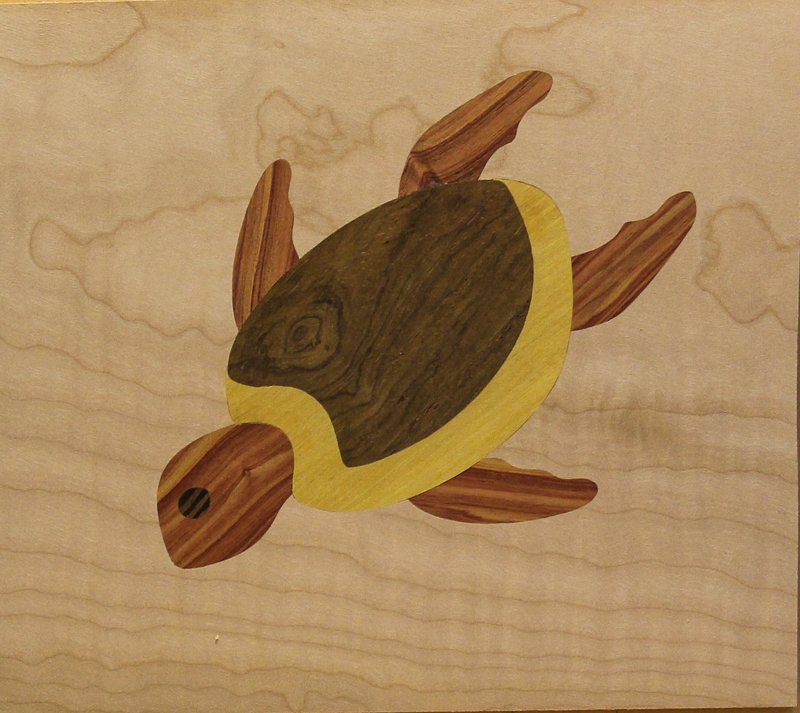
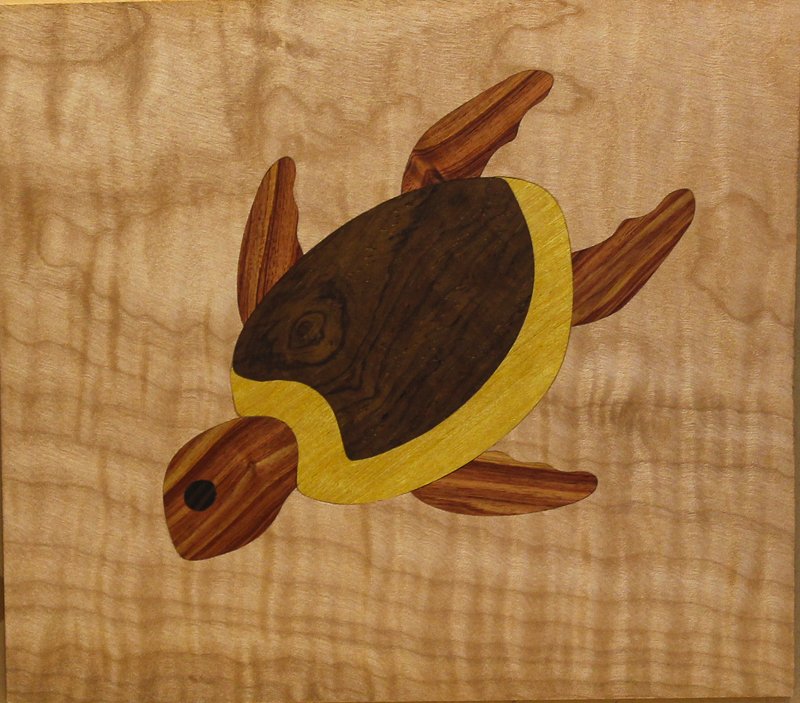
  For $40 you'll receive the decorative inlay kit TurtleSoup, which consists of 4 templates. The first 3 templates build the TurtleSoup decorative inlay, the 4th template allows you to cut the Turtle out as an ornament. It takes about three hours to build the inlay. This is one of the easiest decorative inlays you could ever hope to build.

  By following simple and repetitive router based inlay techniques you're guaranteed to build an inlay that looks so amazing you'll be proud to say, "Yeah, I made that for you!"

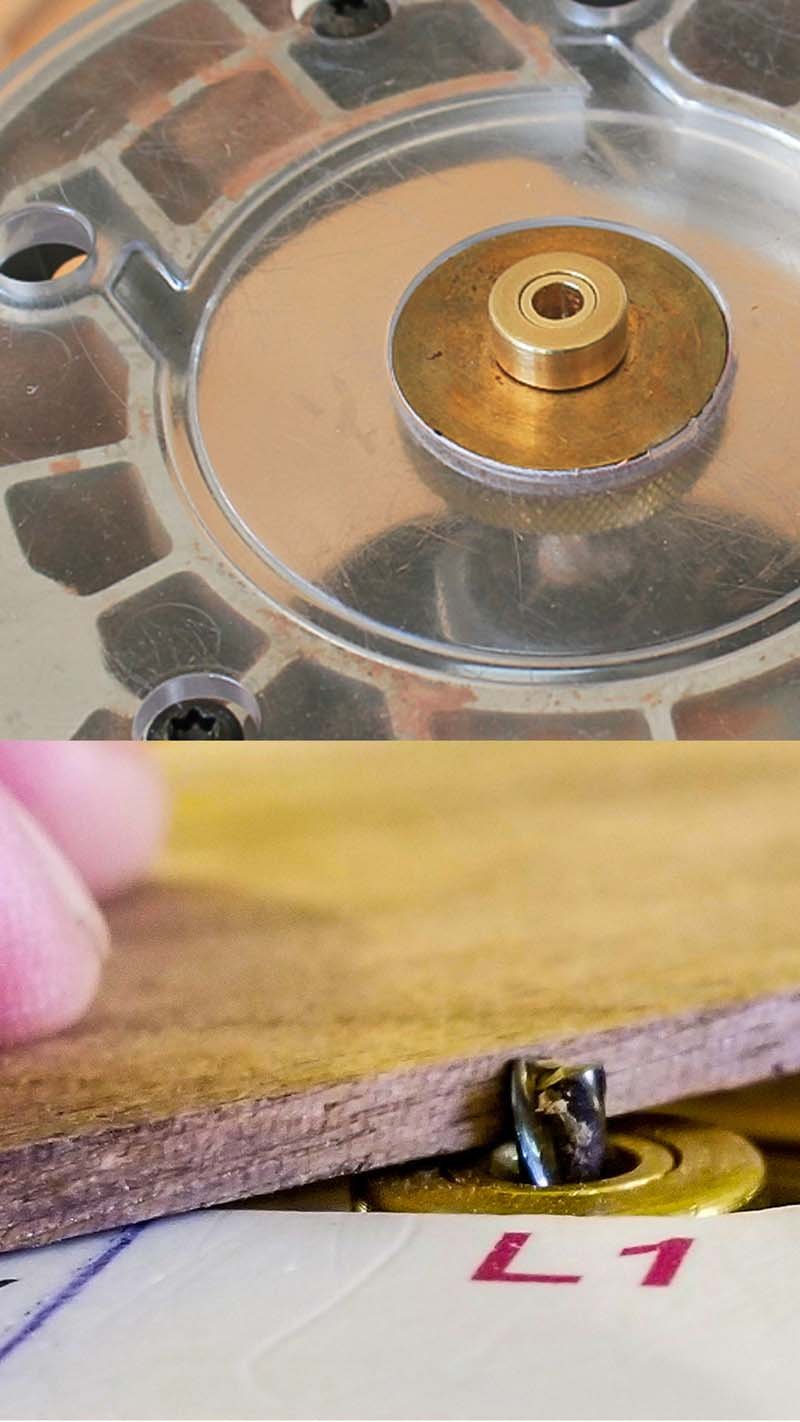
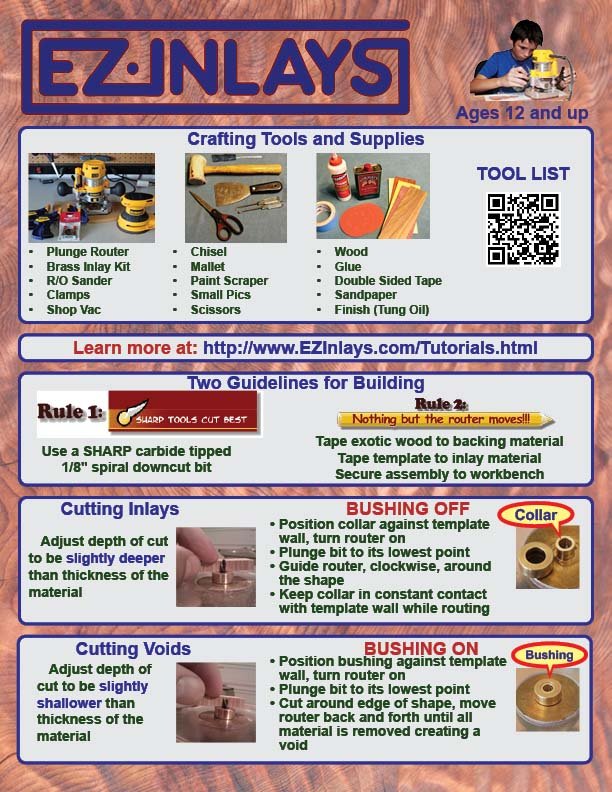
  Best of all you don't need to be a master crafts-person to build this inlay. All you need is some wood and a few basic tools. Click here review the Router Based Inlay Tool List.

  Never built an inlay before? Click here to Learn How To Build Any Wood Inlay.

Select and Prepare the Inlay Materials

Click twice to play

  This quick video explains how to select the inlay materials when building the TurtleSoup decorative inlay.

  When selecting the inlay materials for TurtleSoup you want to focus on contrast, grain patterns, and look for a special piece that can be used as the outer shell. The shell will be the focal point of your inlay so look for something... well... spectacular!

  Because you're building an animal select grain patterns that flow with each other. For the legs, arm, and head the grain pattern should flow from the body to the end of the limb or head. The grain pattern for the inner shell (the Layer 2 inlay) shouldn't conflict with either the outer shell or the arms, legs, and head.

  This is the third design I created. The first two revisions has a shape i the middle of the shell but I decided I really didn't like that look so I took it out of the design. This is also the simplest inlay to build that is part of the decorative inlay line.

INLAY MATERIALS THIS BUILD

    * Quilted Maple 7" x 8" x 5/8" - Base material (the lid)
    * Curly Walnut 3" x 3" x 1/8" - Outer shell
    * Yellow Heart 4" x 3" x 1/8" - Inner shell
    * Rosewood 4" x 3" x 1/8" - The legs, arms, and head
    * Wenge 3" x 3" x 1/8" - Eye
GENERAL GUIDELNES

  The main thing you want to pay attention when selecting the material for any type of decorative inlay is contrast. There are two type of contrast to keep in mind, color and grain pattern / direction.

  It's possible to get decent contrast from two similarly colored woods as long as there is a sharp contrast in grain patterns and direction. Without this contrast your inlay will not look it's best!

Final Sanding and Applying Finish

The TurtleSoup Inlay finished

   To fix any gaps in the inlay smear a small amount of glue into the gap, wipe off the excess glue, then sand over the area. The sanding action will cause sawdust to mix with the glue in the gap blurring it out.

  After all the gaps have been filled sand the entire inlay until it's flat. This process is best done after the glue has completely dried!

  Once sanded apply the finish of your choice. Personally I like to apply three coats of Tung Oil followed by three coats of a polyurethane finish that has a UV inhibitor in it. The UV protection will help keep the woods from changing color over time.

  Click here for more information about Sanding and Finishing Tutorial.

Privacy Policy
Facebook link   Pinterest link   etsy link